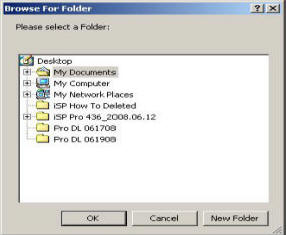
The document library Check-In/Check-Out function ensures that there are not multiple copies of the document being altered at the same time. When you check the document out from the EasyTaskLink Document Library in Outlook you may select where the document will be stored, use the default location or choose not to store a copy.

Don't overwrite local copy - If there is an identical copy of file in your local hard disk, do not overwrite.
Start application upon check-out - Start the hosting application after check-out for example, open MS Word automatically after you have downloaded a xxx.doc file.

To check the document back in select Check-In from the drop-down menu. The popup screen will allow you to enter a new folder name but the default will be the folder selected at Check-Out.

Keep Check-Out - Use this option if you want to keep the Check-Out status after you have Checked in the file. Note: You must be the one who checked-out the document before you can Check-In the Document Library.
Upgrade - Instead of adding a new version when you Check-In a document, you use this option to overwrite the latest version with the one you are about to Check-In.