How to: Customize Task View
Customize Current View allows you select the data column displayed in the Project Center.
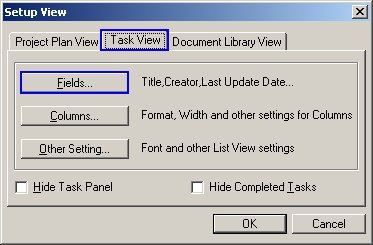
1. From the Project Center screen select View…Customize. The Setup view screen is displayed.

2. From the Task View tab clicking the Fields button then from the Select available fields from drop down menu will shows you the list of available fields that you can view in the Project Tasks. To add these fields highlight the field then click the Add button. Once the fields are added you can sort them by using the Move Up and Move Down buttons. Click OK to return to the Setup View screen.
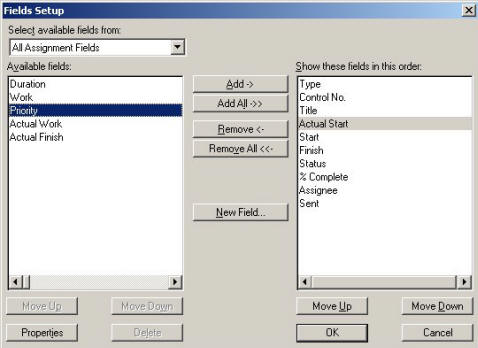
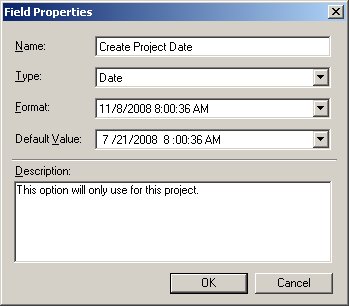
3. To create a field that is not already provided. Using the New Field button from the Fields Setup screen will customize the Fields name.
a. From the Field Properties screen, enter the New Field name in the Name field.
b. Select the text type in the Type field.
c. Select the text type format in the Format field.
d. Enter the field value that you want to set as default in the Default Value field.
e. Special note for this field can be added in the Description field.
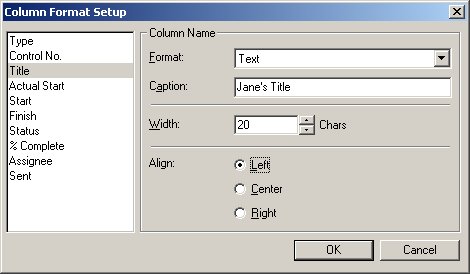
4. From the Setup View screen click the Columns button will let you customize your data formats. The Caption field gives you the capability to customize your column title. For example: You can change the Title to Jane’s Title in the Caption field.
5. Set the column Width by increasing or decreasing the number of characters set. It can also Align to Left, Center or Right. Click OK to return the Setup View screen.
5. To setup the font types select Other Setting...Font. Select the Font type and click the OK button to close the Font screen.
6. The Tasks can be sorted in the Ascending or Descending order by selecting the field type from the Sort field drop down menu. Click the OK button to close the Other Setup screen.

7. To view the Customized View in the Project Center select View…Custom.
1. From the Project Center click the Project button then select Tasks will bring up the task folders screen. Right mouse click on the root folder and select Customize…Current View. The Setup View screen is displayed.
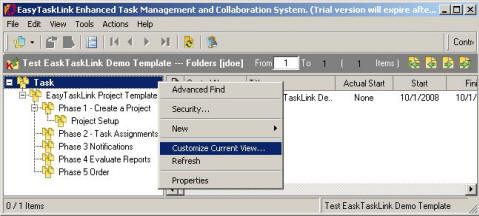
2. Return to Step 2 in the Method I.
Note: Check the Hide Task Panel checkbox will hide the Task Panel in the Project Center. To hide the Completed Tasks in the Project Center Task Panel check the Hide Completed Tasks checkbox.