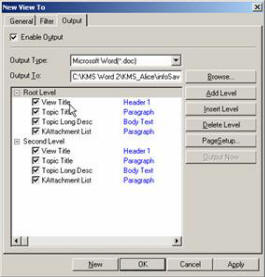
From Project Center select Reports...Views highlight the root folder from the Views screen then select File...New View then click the Output tab. (or right mouse click on the Views folder then click "Properties" will bring up the panel.) If you wish to use the Output feature begin by checking the box next to Enable Output. The Output attributes define the (Word Processing) format of the Output and the destination. Choose an Output format either Microsoft Word or HTML. Specify the destination of the file or browse to find the destination folder desired.
Decide the level of data to be reported and add levels as desired. Choose to print Folder Title, Task Title, Task Description and/or an attachment list. Output View is characterized by its definition of two main constituents: a collection of Tasks and a set of styles used for each attribute within a Task. Some attributes of a Task include the Short Title, Detail Description and Attachment List etc.

Double-click on a style entry from the list box, such as View Title the following dialog box is displayed.
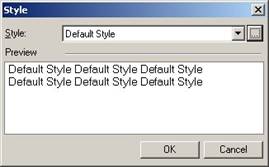
From this dialog box select the Output styles from the drop down menu. Click the button next to the drop down to add or modify a style. The following screen is displayed.
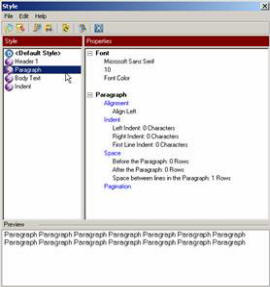
From the Style dialog box above, select Edit…Paragraph to define the format and attributes of the select text. (Note: For Workgroup/Enterprise Edition only users that have privilege will be able to change the Output Style setting.)
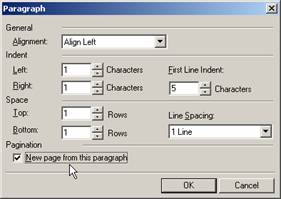
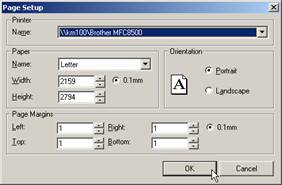
The page setup may also be defined anytime by accessing the Page Setup button.
Once the Output is setup you can generate an Output anytime by highlighting the View then right mouse click on the selected View will bring up the popup menu. Now select Output from the dropdown menu, a progress bar will indicate the Output is being created, it does not automatically open the file.