The first step to using EasyTaskLink is entering new users into the system. This is not required; you may in fact prefer to add users as you create new projects. Once users are entered into the system it makes it easy to start a project and create your teams without worry about collecting information on each of your team members.
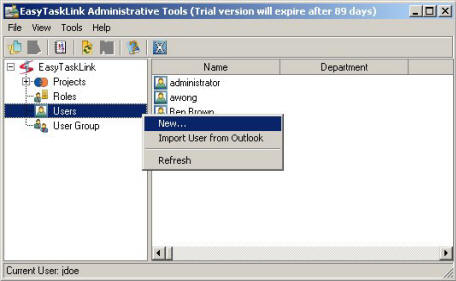
To add users from Administrative Tools from the Start menu select All Programs... EasyTaskLink...Administrative Tools. Only users that have administrator privilege can access Administrative Tools.
To add a New User to the project level, position the mouse pointer at the Users folder and right-mouse click and select New from the popup menu.

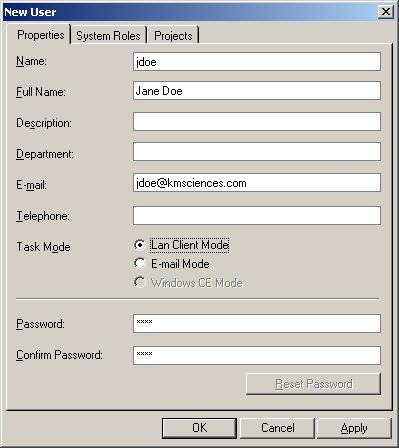
The following three panels fully describe the security privilege definition for a user in the EasyTaskLink System. First, we have the Properties for this user. User Properties data can updates from the Project Center then select Utility...Users and Groups.
Enter the user data below and be sure to select one of the Task Mode in order for the user to receive status reports.
LAN Client Mode - For users that are receiving task assignments using LAN connection.
E-mail Mode - For users that are receiving task assignments via Outlook.
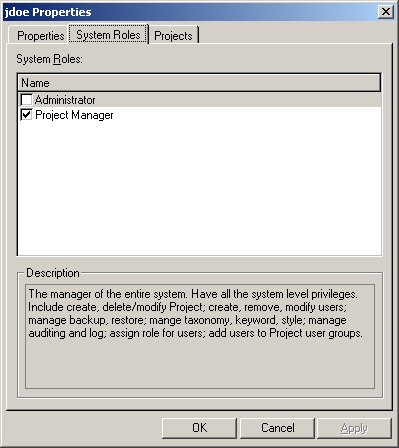
The next tab is System Roles. Roles are defined in the User Roles section. It is important to know that only the Administrator can give Users the Project Manager Role. And equally important, you must have the Project Manager role in order to add a project and set assignees.
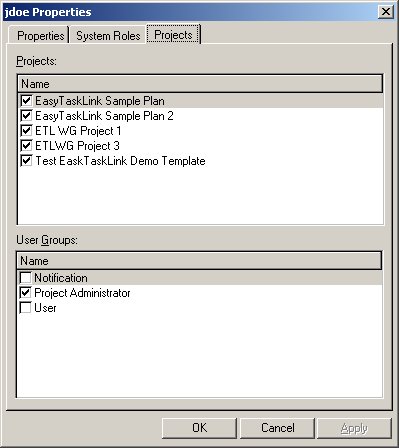
The last tab of the property sheet is the Projects tab. This is a handy place to view the projects to which a user is assigned. Highlight a project to view what groups the user is a member of. When adding a new user to the system it is possible for the Project Manager to add the user to projects by clicking the checkbox next to the project. Then add the user to groups within the project by highlighting the project and checking the check-box next to the appropriate Group(s).
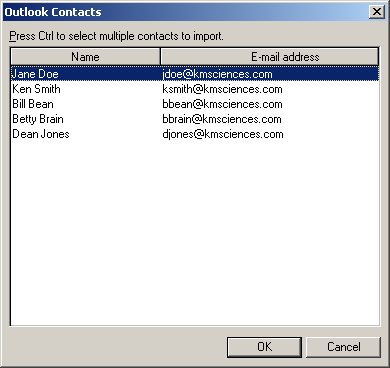
Users can be added from your Outlook Contacts List right mouse click the Users menu then select Import User from Outlook button the Outlook Contacts list is displayed. Then highlight the user you wish to add and press OK. The property sheets are automatically filled out for these users. It is then important to open the property sheet to modify the correct Login Name (User ID) and to create a password for your new users.
