EasyTaskLink logo   HOME FEATURES PURCHASE SUPPORT CONTACT
OVERVIEW
EasyTaskLink is a task management system that integrates Outlook Tasks for Team members while using Email and Excel for notifications and alerts. With the Professional Edition of EasyTaskLink, task assignments are automatically sent via email to your team members Outlook Tasks folder. Team members can then file their status reports from Outlook and via email the project is automatically updated. This approach saves the project manager's time collecting status reports and summarizes the project status.

Top

FEATURES
EasyTaskLink Professional Edition is a single user edition, it installs easily to your personal computer.  This means that the task database is in your computer, directing and deploying tasks using email. You can work offline and then send the task when connected to the internet.  You may use email system such as Gmail, Hotmail, and Yahoo Mail. The only requirement is that your team member needs to use Outlook 2003/2007/2010 and has a valid email address.

Top

SYSTEM REQUIREMENTS
Project Manager station requires:
  • Windows XP, Windows 2000, Windows 2000 Server, Windows 2003 Server, VISTA, Windows 7
  • Memory 1GB – Minimum
  • Hard disk 1GB recommended. For each task, add 10K bytes
  • Outlook 2003, 2007, 2010 to receive Task Assignments, notifications and filing status reports
  • Excel: to utilize Executive Dashboard and View Functions
  • Optional: Microsoft Project 2003, 2007, 2010

Top

Team Member station requires:
  • Outlook 2003, 2007, or 2010 to receive Task Assignments into their Outlook Tasks Folder and for filing Status Reports

Top

INSTALLING THE DATABASE
For Windows XP, 2000, 2000 Server or 2003 Server:
  1. Install MSDE for Windows XP or Windows 2000 or Windows 2000 Server or Windows 2003.
  2. Install EasyTaskLink Professional (refer to the next section).

Top

For Windows VISTA or Windows 7:
  1. Install Microsoft .Net Framework 2.0.
  2. Install SQL Server Express 2005. You may accept the default when installing SQL Server Express 2005. However, it is required that you select Mixed Mode from the Authentication Mode screen.

    Note: Please remember the password you enter here. In the next phase of installation, EasyTaskLink will prompt you for the password when creating the database. This is the password that will be used.

  3. Install EasyTaskLink Professional (refer to the next section).

Top

INSTALLING EASYTASKLINK PROFESSIONAL
  1. Be sure to exit Outlook and Excel so the software can be installed properly. 
  2. Open the folder containing the EasyTaskLink release. Double-click Setup.exe or Autorun.exe.
  3. A splash screen will appear. From this point on, the installation process is automated. In most cases, the default setting can be accepted.
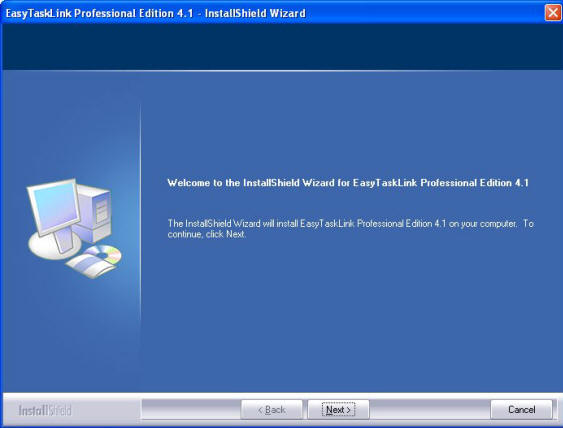
  4. The following shows a series of screenshots from a typical install session for your reference.
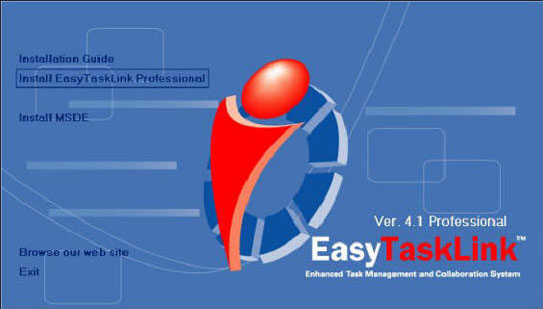
    Welcome - Click Next to continue.
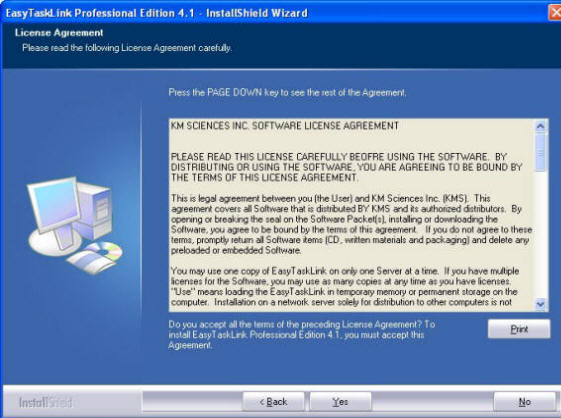
    Licensing Agreement - Please read the Licensing Agreement carefully and be sure you accept it before proceeding to the next screen.
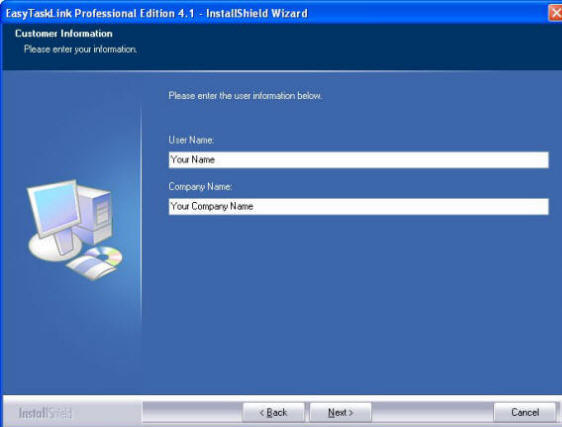
    Customer Information - The installation process “auto-fills” the User Name and Company Name. Such information is acquired from your computer set up. You may change it to the name you desire.
    Choose Destination Location - The location of the software is usually the default directory. Unless you wish to alter this location, click Next.
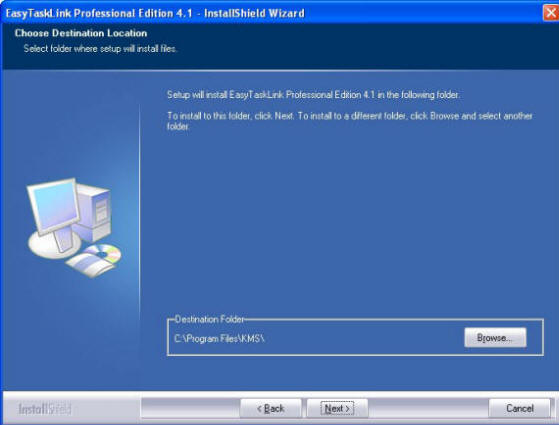
    The screen shown in the next step will not be displayed if you choose Browse.
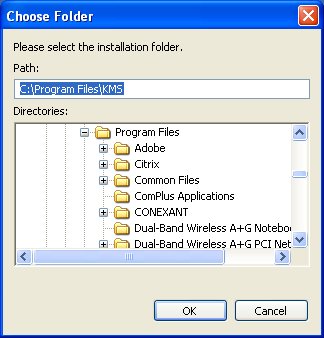
    Choose folder

    The location of the software is only meaningful to the Windows Operating System. We recommend keeping the software in the default location.

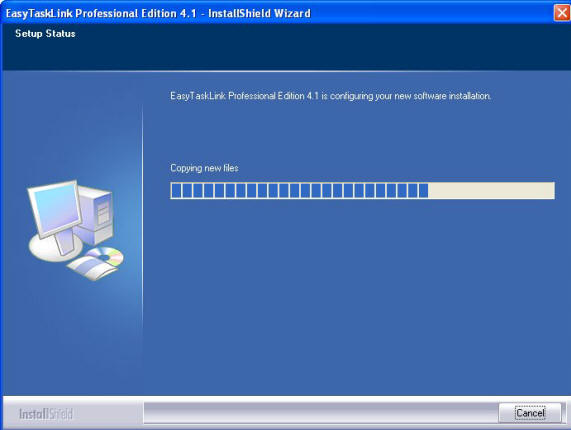
    Setup Status - The progress bar tracks the installation of the program components.
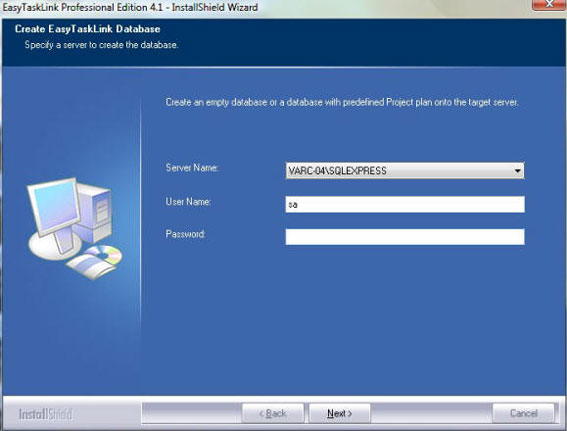
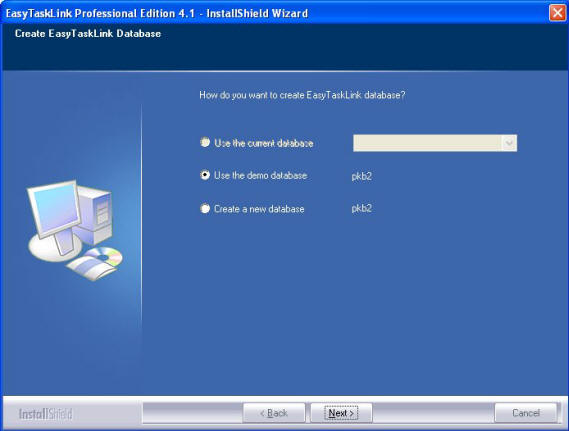
    Create EasyTaskLink Database - This step creates the EasyTaskLink database in the selected server.

    For MSDE Users: Accept the default and click Next to continue.

    For SQL Server Express Users: If the drop down list has more than one entry, this means that your system already has other instances of SQL Server Express or SQL Server 2000 installed. Enter the user name as "sa" and a "Password". You have to obtain the password from your database administrator or from Install EasyTaskLink Database.
    Create Database

    • Use the current database - If you had a previous installation of EasyTaskLink you may want to upgrade your database. In this case check this radio button and use the drop down menu to select the most current database.
    • Use the demo database – Select this if you are evaluating the system.
    • Create a new database – Select this if you want to start with an empty database.
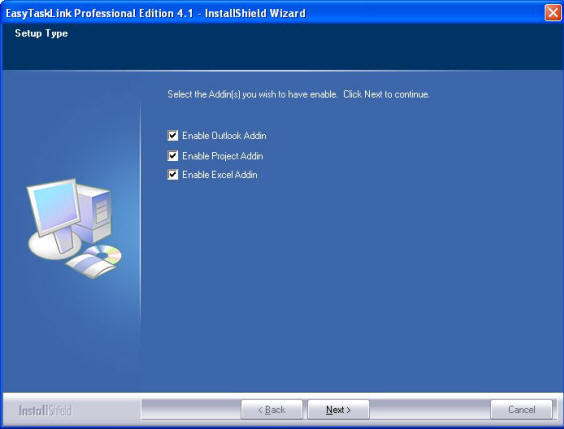
    Setup Type, Addins - In most cases you will want to select to install all add-in components.
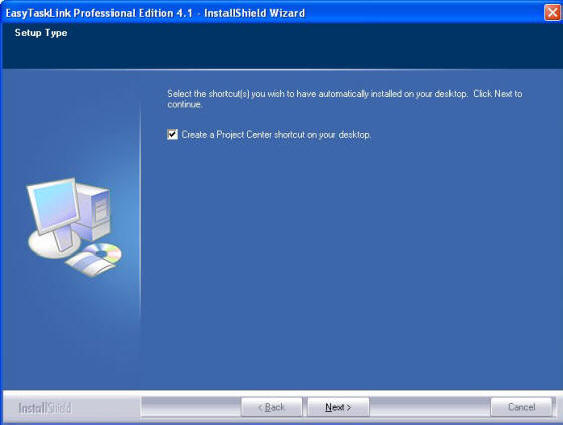
    Setup Type, Shortcuts – Select this option to create a Project Center shortcut on your desktop.
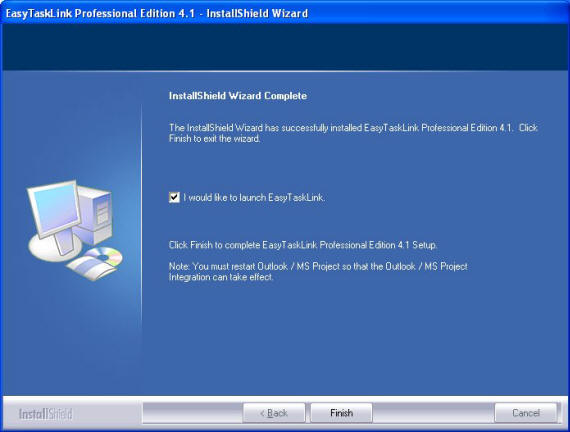
    Complete – You have completed the installation process for EasyTaskLink Professional Edition. Check the “I would like to launch EasyTaskLink” checkbox to start EasyTaskLink.
Top

Divider