| OVERVIEW |
|
EasyTaskLink is a comprehensive Enhanced Task Management and Collaboration System. Users share a common database of information and knowledge. You may use EasyTaskLink to manage both MS Project MPP data and Project Tasks. The fundamental implementation architecture is based on the standard Server/Client Model. This document gives you a step-by-step guide on how to properly install and verify EasyTaskLink.
This Workgroup Edition is used primarily for groups within a company who do not wish to share their data across the internet using an open access method such as a browser. For example, some top secret computer related projects only allow authorized access from the local settings. This version runs on the local private corporate LAN. Access from outside of the LAN can be accomplished via VPN.
After successfully installing EasyTaskLink described in this document, please follow the EasyTaskLink Help for instructions on using the system.
Top
|
| WORKGROUP CONFIGURATION |
|
In most cases, you would configure at least two computers in the EasyTaskLink Workgroup Edition. One computer is used to house the Server Component and the other will have the Client Component. Therefore, you will need to follow the Server component instructions to install the server and the Client component instructions to install each client per your License Agreement. Please note that after you have successfully installed EasyTaskLink, you will need to run the administration program to set up Project Managers before proceeding to publish your first project in Microsoft Project. Please refer to Help for a detailed description on how to run the Administration program.
This edition is for Project Managers managing a project team in a dedicated server environment. Supports both MS Project Plan and Project Tasks.
Top
|
| SERVER COMPONENT |
| SYSTEM REQUIREMENTS |
| Server Machine |
- Windows 2000, Windows 2000 Server, or Windows 2003 Server
- Memory 1GB – minimum
- Hard disk 1GB recommended to start. For each task, add 10K bytes
- LAN Connected to Project Managers and Team Member Stations
- Optional MS SQL Server 2000 or MS SQL Server 2005
Top
|
| Project Manager Station |
- Windows XP, Windows 2000, Windows 2000 Server, Windows 2003 Server, Vista, or Windows 7
- Memory 1GB – minimum
- Hard disk 1GB recommended. For each task, add 10K bytes
- LAN connected to the Server Machine
- MS Project 2003, 2007 (optional)
- Excel for the Executive Dashboard function
- Outlook 2003, 2007 for receiving Task Assignments and filing status reports
- May use EasyTaskLink Client to receive Task Assignments
Top
|
| Team Member Station |
- Windows XP, Windows 2K, Windows 2K Server, Windows 2003 Server, Vista, or Windows 7
- Memory 1GB
- Hard disk space 600MB
- LAN connected to the Server Machine
- Outlook 2003, 2007 for receiving Task Assignments and filing status reports
- May use EasyTaskLink Client to receive Task Assignments
Top
|
| SUPPORTING MSDE and SQL SERVERS |
|
EasyTaskLink Workgroup Edition supports MSDE or MS SQL Server 2000 or MS SQL Server 2005 as the backend database system.
Insert the EasyTaskLink CD into your CD Drive. If you do not see a “Splash” screen within two minutes, go to “My Computer”, click on the CD drive containing the EasyTaskLink CD. Double-click “Autorun.exe”.
If you wish to use MSDE database, you will have to install MSDE first.
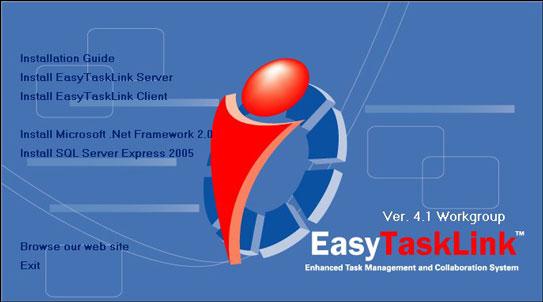
Click “Install MSDE” and the system will complete the installation without further prompts.
If you wish to use MS SQL Server 2000 or MS SQL Server 2005, there is no need to install MSDE.
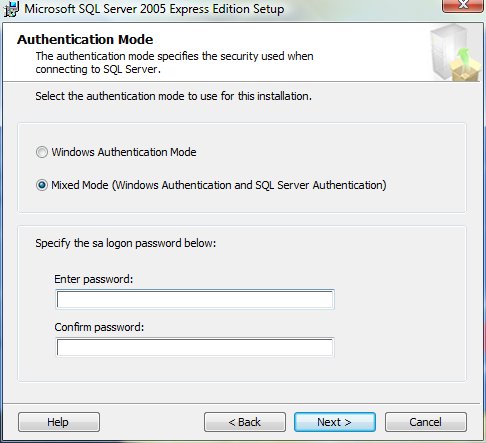
You may accept the default when installing SQL Server Express 2005. However, it is required for you to select Mixed Mode from the Authentication Mode screen.
Note: Please remember the password you entered. In the next phase of installation, EasyTaskLink will prompt you for the password when creating the database. The password will be what you have entered here.
Top
|
| INSTALLING THE SERVER COMPONENT |
- Open the folder containing the EasyTaskLink release. Double-click "Setup.exe" or “Autorun.exe”.
- A splash screen will appear. From this point on, the installation process is automated. In most cases, you can accept the default settings.
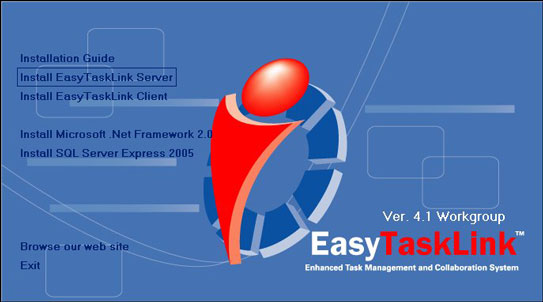
- From the splash screen, select “Install EasyTaskLink Server”.
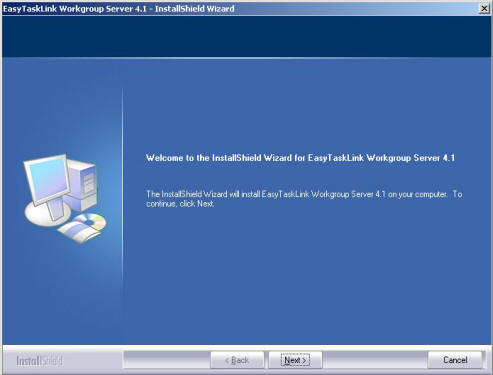
The following shows a series of screenshots from an install session for your reference.
Welcome
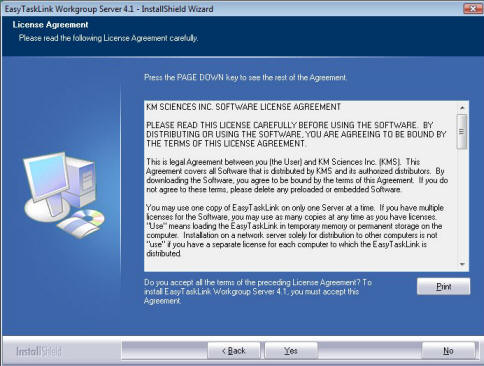
Licensing Agreement - Please read the Licensing Agreement carefully and be sure to accept the terms before proceeding to the next screen.
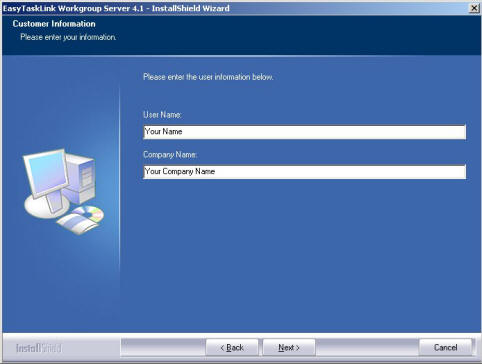
Customer Information - The installation process auto-fills the User and Company name. This information is acquired from your computer set up. You may change it to the name you desire.
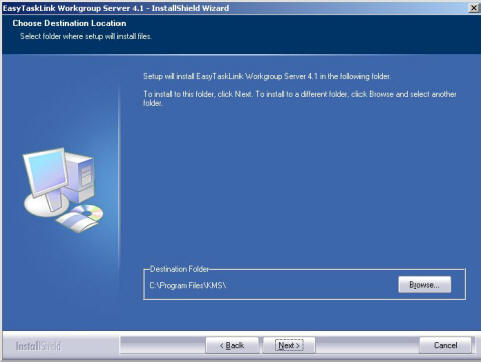
Choose Destination Location - The location of the software is usually in the default directory. If you do not wish to alter this location, click Next to accept the default.
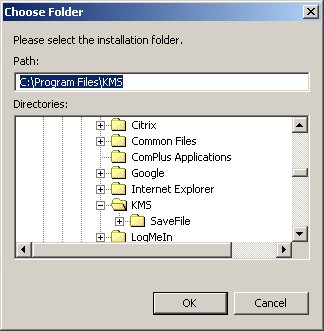
If you do choose to change the software location, click Browse. From here, you can choose the desired folder.
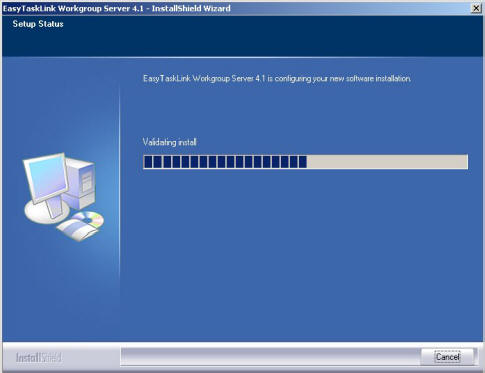
Setup Status - Tracks the progress of your installation.
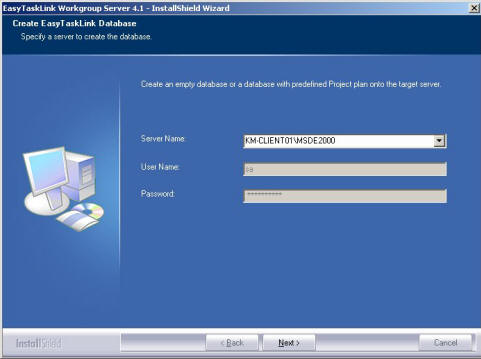
Create EasyTaskLink Database - This step sets up the database server you are opting to use. If you have installed MSDE, then the first entry will be MSDE. Accept the default and click Next to continue.
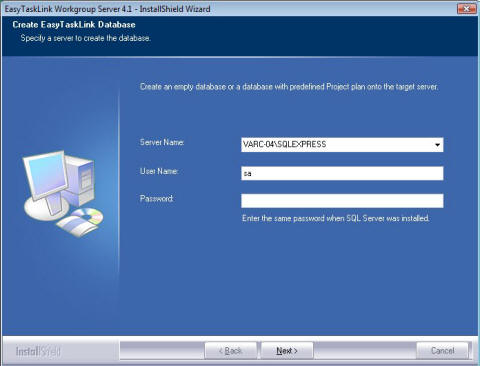
To install SQL Server followed by a list of SQL Server Instances: from the drop-down menu select the Server Name. Enter the correct User Name and Password for your SQL server administrator. (Note: if it is MSDE, the password is auto-filled with infosavant).
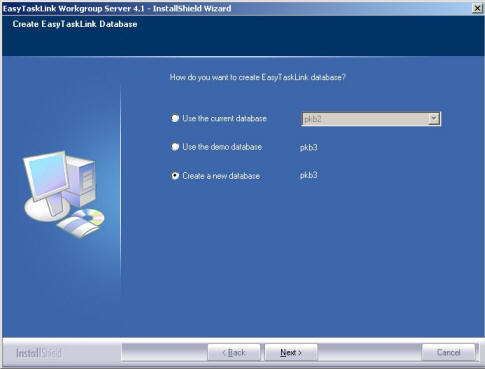
If you are upgrading EasyTaskLink from a previous version, you may choose to continue using your existing database by selecting “Use the current database” then choose the database from the drop-down menu. To create the new database select “Create a new database”.
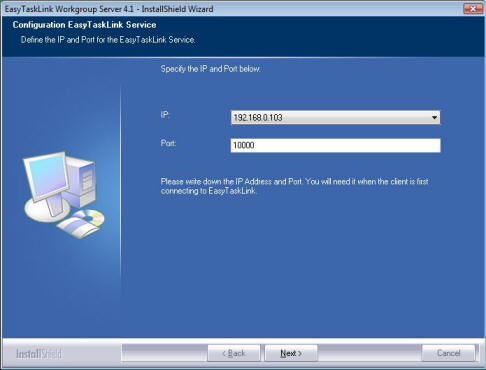
Define the IP Address and Port - Be sure you write down the IP and Port that appears on this screen. Note: This information is required to successfully install the Client component of EasyTaskLink.
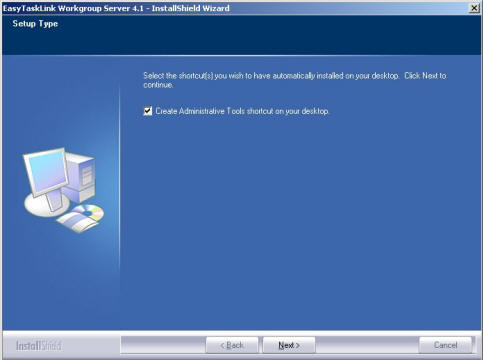
Setup Type - Allows you to create an Administrate Tools shortcut.
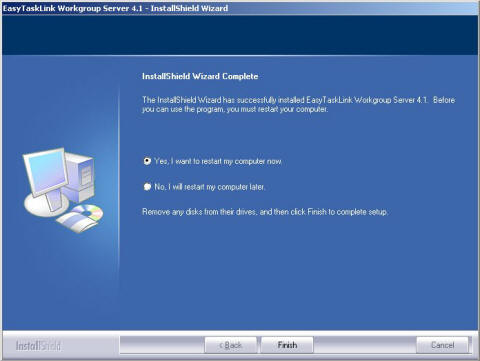
Completion - Congratulations, you have completed the server installation. Be sure to restart your computer after you have successfully installed EasyTaskLink.
Top
|
| INSTALLATION VERIFICATION - SERVER |
|
Verify the File Service installed by EasyTaskLink.
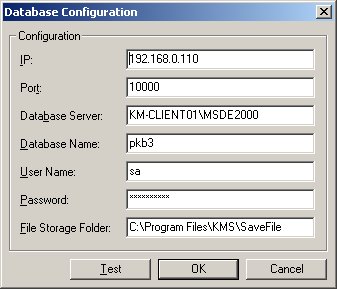
File Service Panel - Use this panel to configure the Database Server. After you have completed the installation of EasyTaskLink, the File Service control program can be found in the lower right corner of the task bar, double-click the File Service Icon.
From the Configuration menu, select “Database Configuration” to display the following:
Note: If you do not see the File Service icon, you can add it from your Start menu: Programs -> EasyTaskLink -> Utility -> File Service.
IP Address and Port Number:
- The IP Address and Port Number must match the address specified in SERVERCONFIG.XML.
- Database Server: The name of the SQL Server where the EasyTaskLink Knowledge Base resides.
- Database Name: pkb2 (Standard) or verify with the SQL Enterprise Manager.
- User Name: sa (Standard)
- Password: EasyTaskLink (default), obtain from SQL administrator.
- File Storage Folder: defaults to "C:\ProgramFiles\KMS\SaveFile". Make sure this directory exists and is not set to "read-only".
Additional Verifications: (SQL Server Only)
- Set Authentication Mode to Mix. Must not use Windows Integrated Authentication.
- Verify using SQL Enterprise Manager that a database called “pkb2” has been created.
- Verify that the Administrator User Name and Password are correct.
Top
|
| SERVER EMAIL SETUP - SENDING/RECEIVING TASKS AND NOTIFICATIONS |
|
EasyTaskLink Workgroup has two options to send and receive task status reports. Users that are installed the client component should use the LAN Client Mode. Any team members that are outside of the LAN may use E-mail Mode. E-mail Mode will via tasks to team members’ Outlook Tasks folder.
To setup the Server Email Address, from the Server Start menu select All Programs -> EasyTaskLink -> Utility -> File Service. From the EasyTaskLink File Service screen, click the Configuration tab then select E-mail Configuration. This is similar to setting up your SMTP account.
Top
|
| CLIENT COMPONENT |
| SYSTEM REQUIREMENTS |
| After you have successfully installed the server component of your system you will need to install the EasyTaskLink Client component on the computer of each user. It is also possible to install the Client component on the computer where you have installed the server component.
System Requirements:
- Windows XP, Windows 2000, Vista, or Windows 7
- Windows 2000 Server, Windows 2003 Server
- Memory 1GB
- Hard disk space - 600MB
- LAN connected to the Server Machine
- MS Outlook 2002, 2003, 2007 for receiving Task Assignments and filing status reports
- May use EasyTaskLink Client to receive Task Assignments
Top
|
| INSTALLING THE CLIENT COMPONENT |
|
The EasyTaskLink server component must be set up and configured correctly before communication can be established between the server and client.
- Open the folder containing the EasyTaskLink release. Double-click "Setup.exe" or “Autorun.exe”.
- A splash screen will appear. From this point on, the installation process is automated. In most cases, you can accept the default settings.
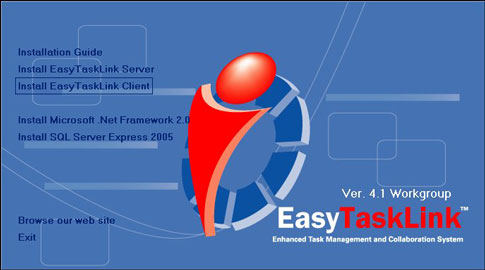
- From the splash screen, select “Install EasyTaskLink Client”.
The following shows a series of screenshots from an install session for your reference.
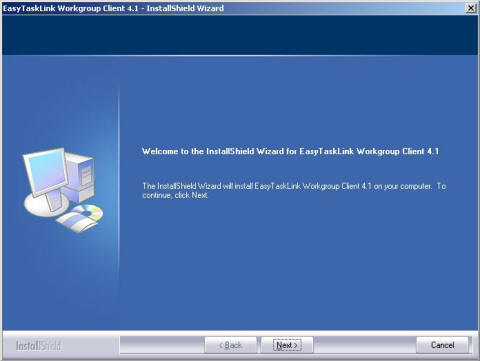
Welcome
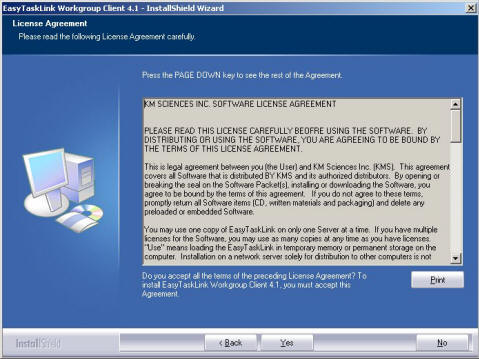
Licensing Agreement - Please read the Licensing Agreement carefully and be sure to accept the terms before proceeding to the next screen.
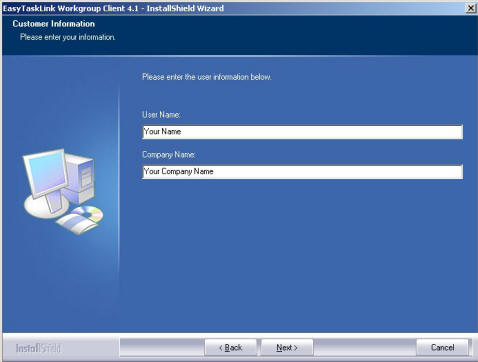
Customer Information - The installation process auto-fills the User and Company name. This information is acquired from your computer set up. You may change it to the name you desire.
Choose Destination Location - The location of the software is usually in the default directory. If you do not wish to alter this location, click Next to accept the default.
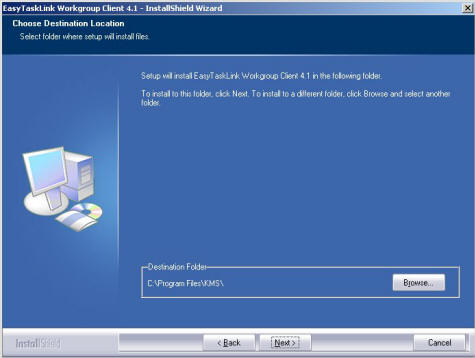
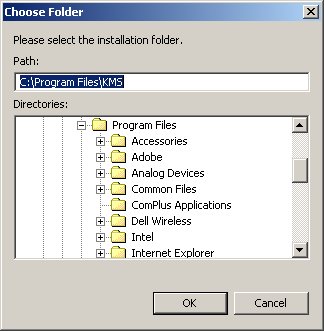
If you do choose to change the software location, click Browse. From here, you can choose the desired folder.
Setup Status - Tracks the progress of your installation.
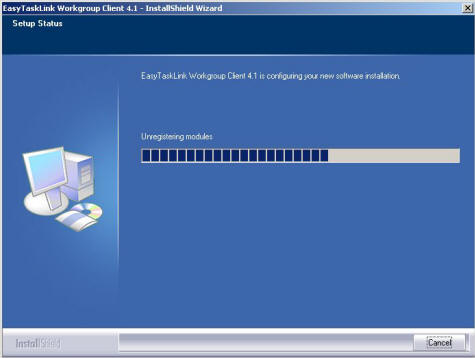
When the “Starting Service…” screen pops up, be patient because it may take a few minutes. The installation is progressing normally.
In most situations you will want to enable all add-in components of EasyTaskLink.
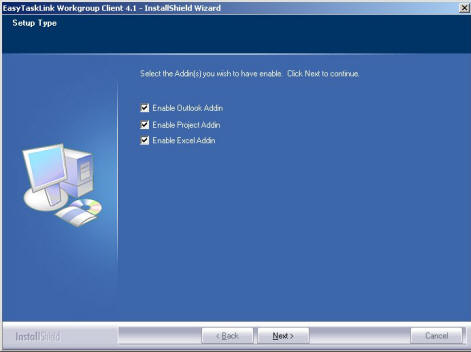
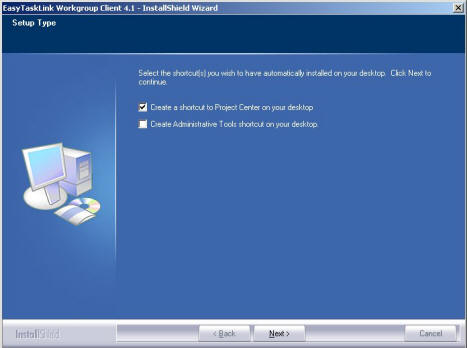
Setup Type - Allows you to create Project Center Administrate Tools shortcuts.
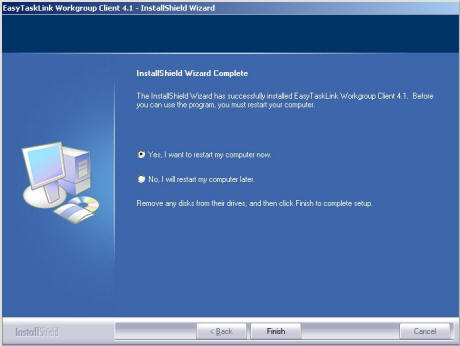
Completion - Congratulations, you have completed the client installation. Be sure to restart your computer after you have successfully installed EasyTaskLink.
Top
|
| INSTALLATION VERIFICATION - CLIENT |
|
From the Windows Desktop, click Start -> Programs -> EasyTaskLink -> Login Settings. The following Screen is displayed.
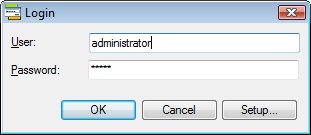
The system default login is:
User ID: Administrator
Password: password
Click Setup to view the following screen:
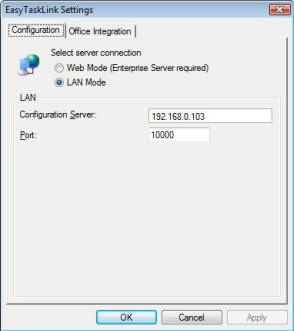
Make sure that LAN Mode is checked and that the Configuration Server is the IP address of your Workgroup Server.
From the Settings screen select the Office Integration tab. The following is displayed.
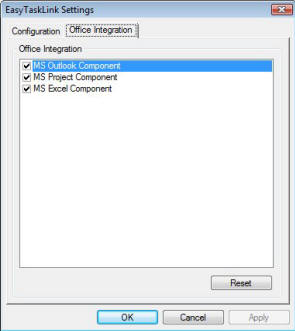
Verify that the correct Client Components are enabled.
Installation complete! You have successfully completed the installation of EasyTaskLink Workgroup Edition. Please click here for instructions on how to set up the server email address for sending/ receiving tasks and notifications. Top
|
|
 |
|